Creating an account
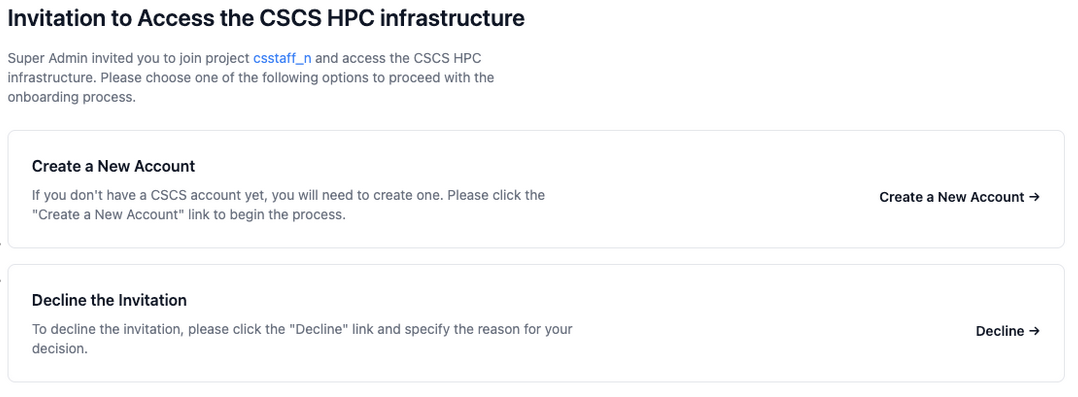
When the CSCS Account Manager, project PI or Deputy PI invites a user to their project, the user will receive an invitation email. If the invited user has an existing CSCS account then the user clicks on the URL from the email and log-in with a username, password, OTP, and accept the invitation. If the invited user is a new user, then the user should follow the step-by-step instructions below to get an account.
The email contains a URL that redirects you to the registration page:
Clicking the “Create a new account” button will lead the user to the second step where he needs to provide his personal information as shown below:
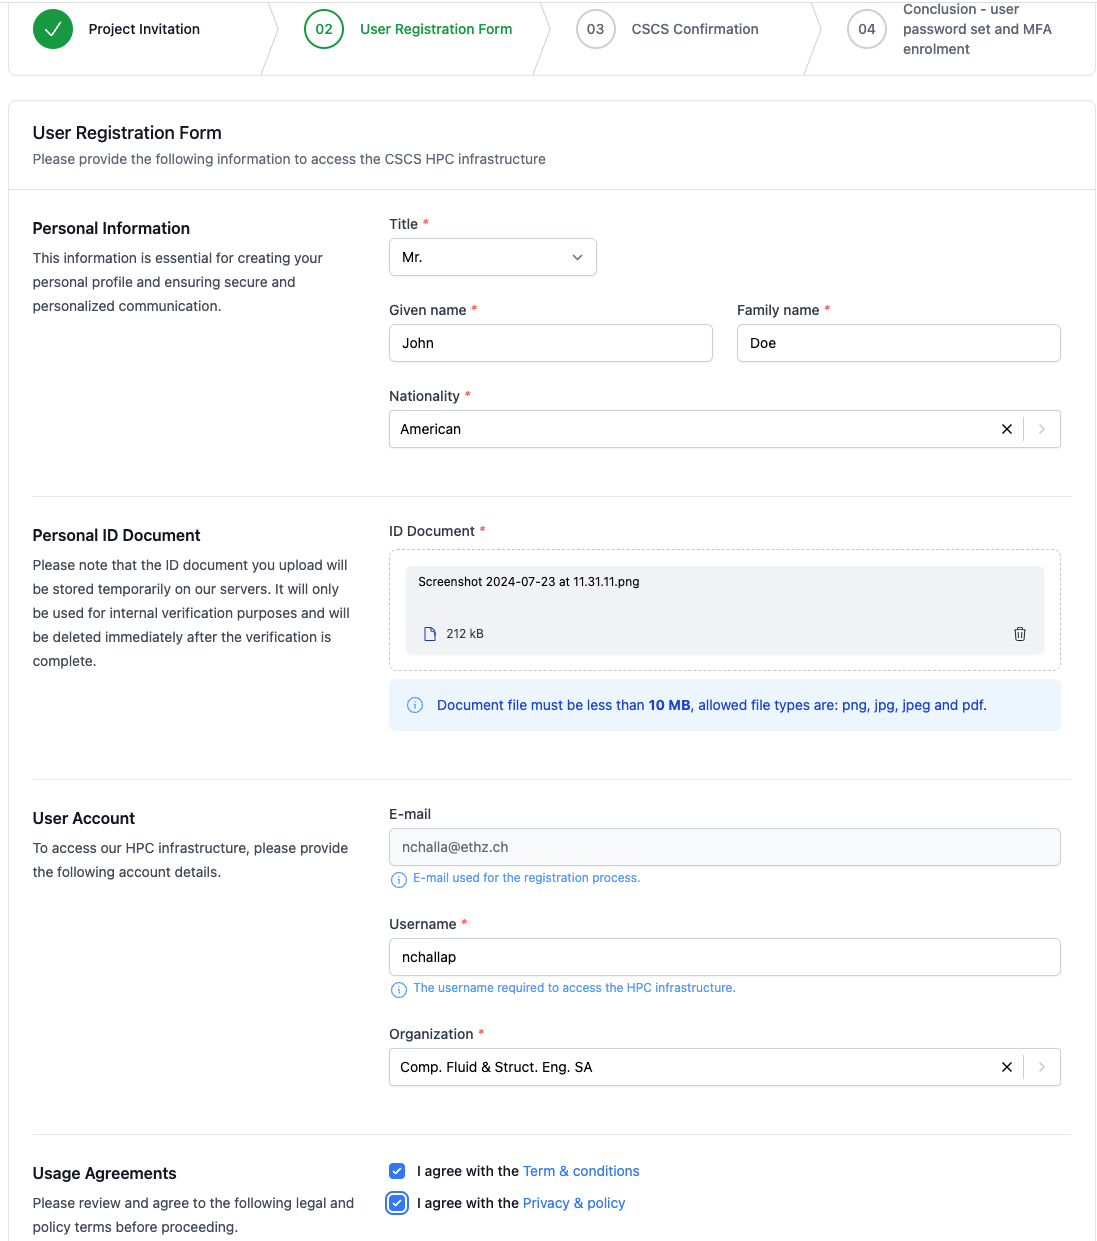
After submitting personal information, users have to wait for CSCS to review and approve the submission.
Once accepted, you will receive an email with a link to set your password.
Dear John Doe,

Your username is nchallap.

Please click here to set your password.

Yours sincerely,

CSCS Support Team.
Following the link in this email will take you to a page where you set your password.
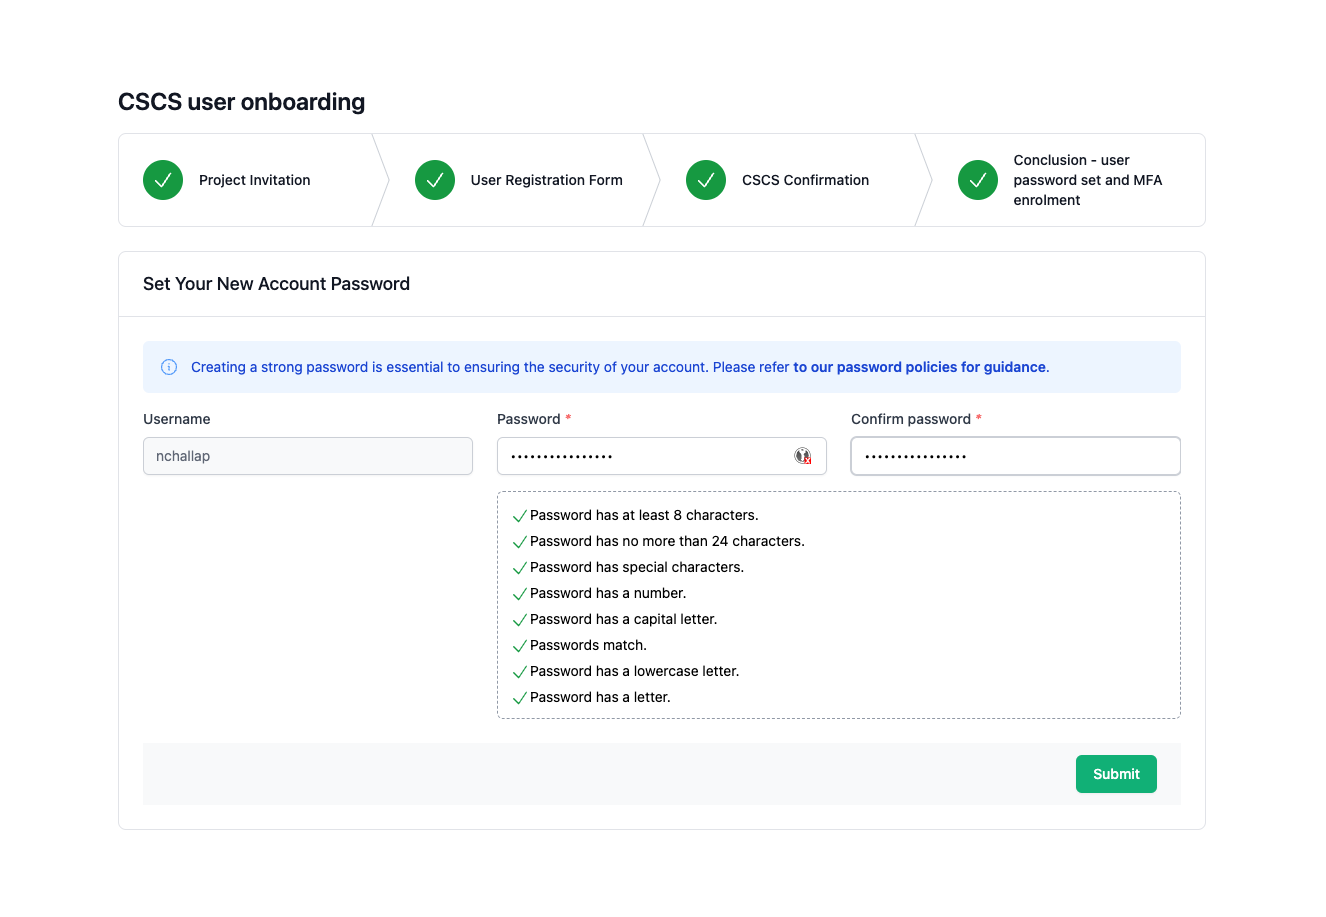
After your password has been set, you will be redirected to a page where you log in using your username and password
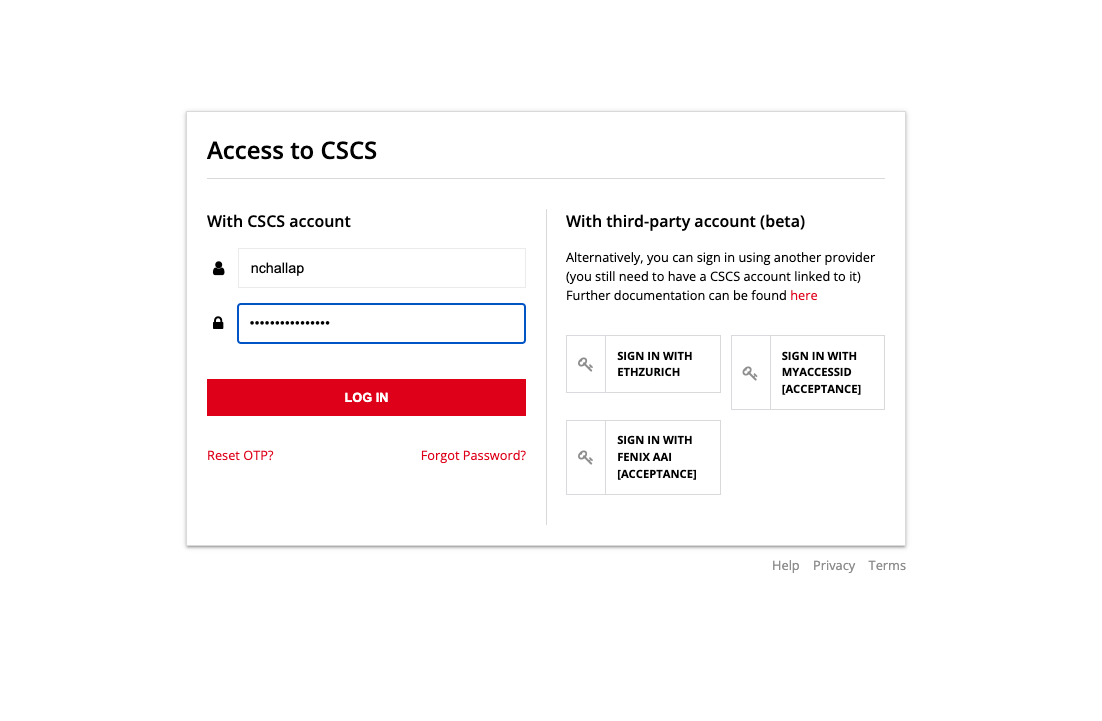
From here you will need to set up multi-factor authentication (MFA).
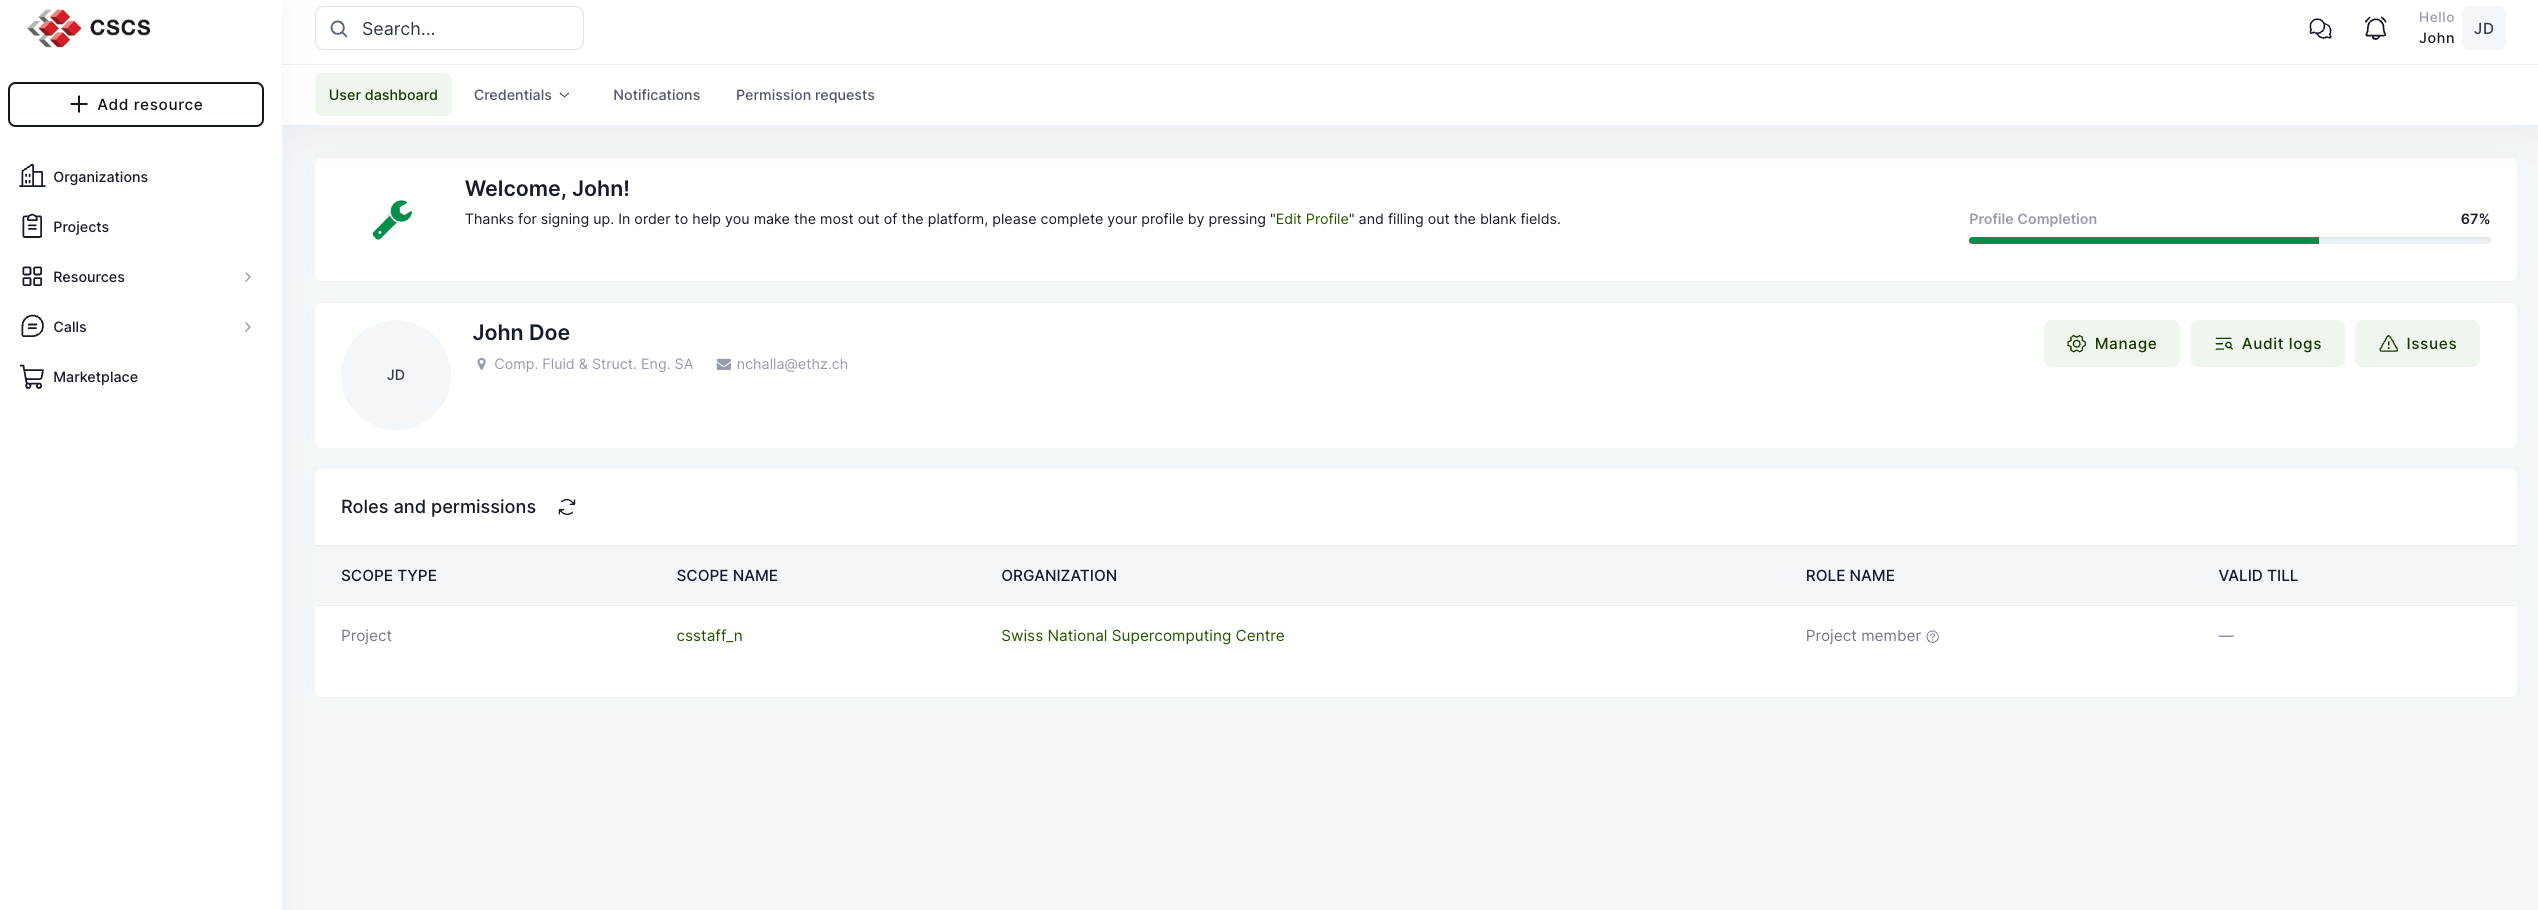
Once MFA has been configured, you will finally be redirected to the CSCS portal as shown:
Requesting a Service Account
Service Accounts are scoped to a single project and grant access to all resources within it. To obtain one, the Project PI must submit a request to a Platform Manager via an SD Ticket on the Service Desk.
Request Template
To help us process your request efficiently, please include the following information in your SD Ticket:
Subject: Service Account Request - [Project Name]

Project: [Your CSCS Project Name]
PI: [Project PI Name]

Service Account Details:
- Account Purpose/Use Case: [e.g., CI/CD pipeline, automated job submission, monitoring, data sync]
- Expected Usage: [Describe what the account will do, frequency, and scale]
- Responsible Team/Person: [Name or team responsible for managing this service account]
- Duration: [e.g., permanent, specific project end date]

Additional Notes: [Any other relevant information, e.g., specific requirements or constraints]
After Approval
Once approved and enabled, the Service Account menu entry will appear under the Team tab of your Waldur project. For details on setting up and using a Service Account, see Service Accounts.